
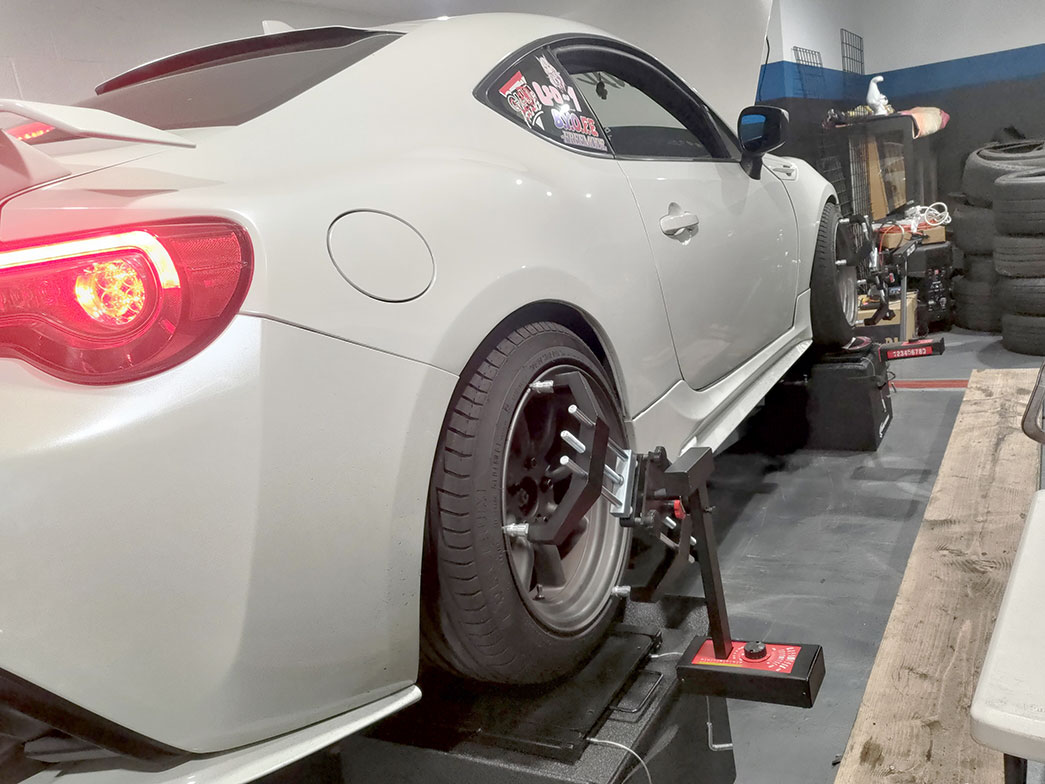
On this day, I have learned a valuable lesson — even though a guest visits for a front-toe alignment, it’s a smart idea to check other parts of the suspension and steering for peace of mind. Sometimes, one will discover the correctable boo-boos of a previous mechanic or parts that have loosened over time. How can this be possible?? Because sometimes, all the time, things are never perfect!
In the case of Daniel’s FR-S, there were a handful of bugs found. And although much time was spent fixing them, it was all worth it. I think this car drives better now than it has in a very long time!
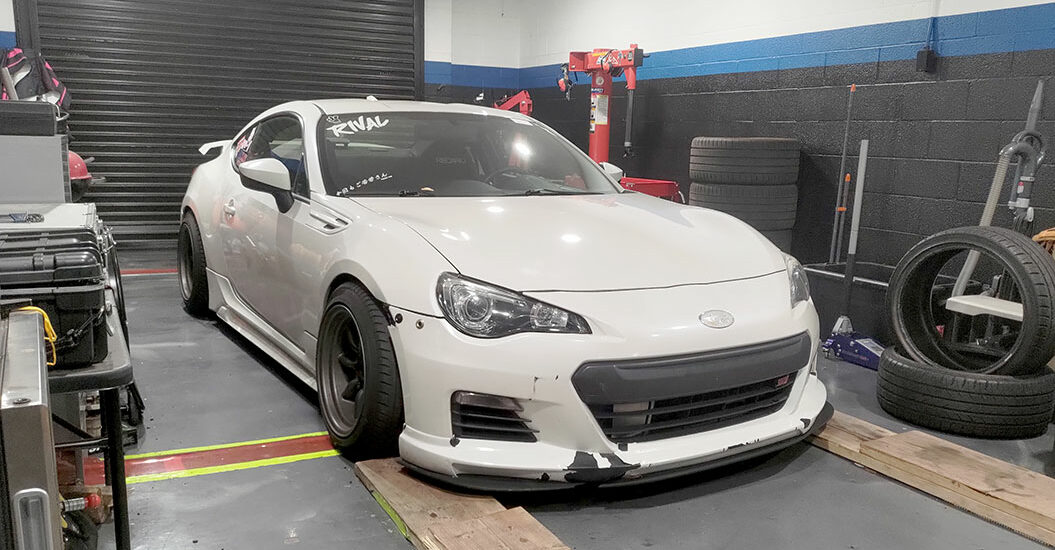
Daniel originally visited me to get the front toe of his Scion FR-S re-adjusted, but along the way I discovered that he had loose front top hats, that the rear subframe was not trimmed to make room for the PBM camber arms, and that the steering wheel was installed about 20 degrees off from center.
The PROBLEM was that I didn’t find all of these issues on the first session. Instead, I focused only on the task at hand for session one, thus requiring multiple sessions to find the other items to fix. There was lots of time that could have been saved! A bit of a shame, but that’s life, and it gets better if we make it.
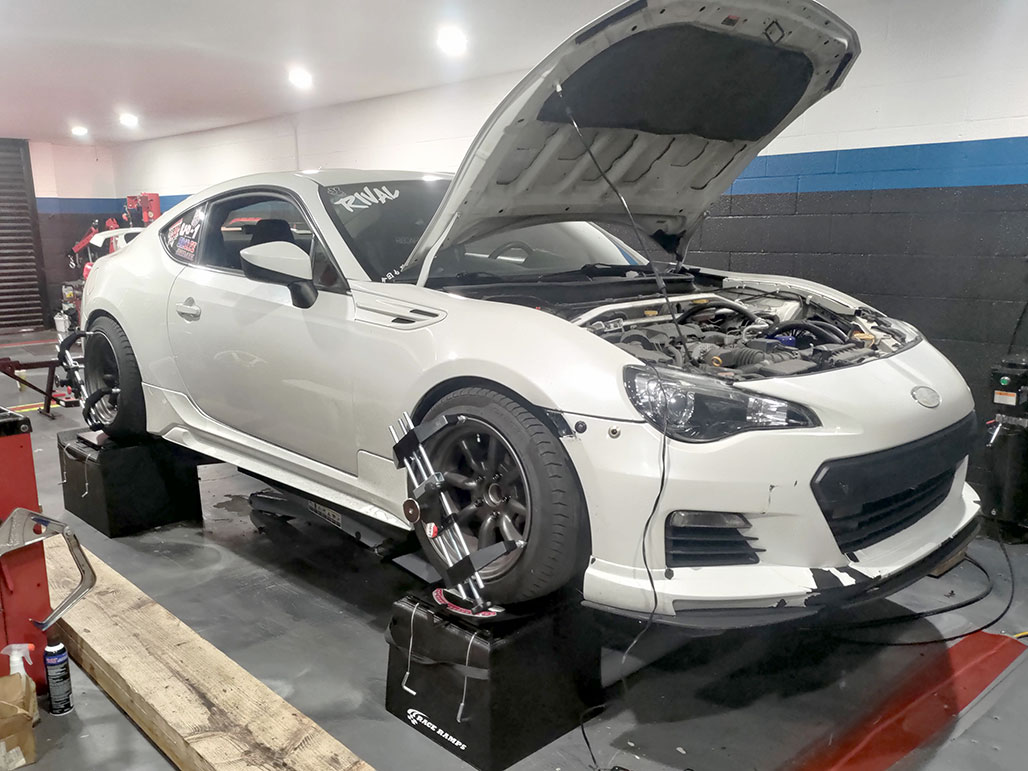
This adventure turned into one front toe alignment, re-installation of the rear lower control arms, followed by a full alignment, a steering wheel re-install, another front toe alignment, and lastly resetting of the steering angle sensor. That’s not something any of us signed up for. But on the plus side, This FR-S drives really nice now. 🙂
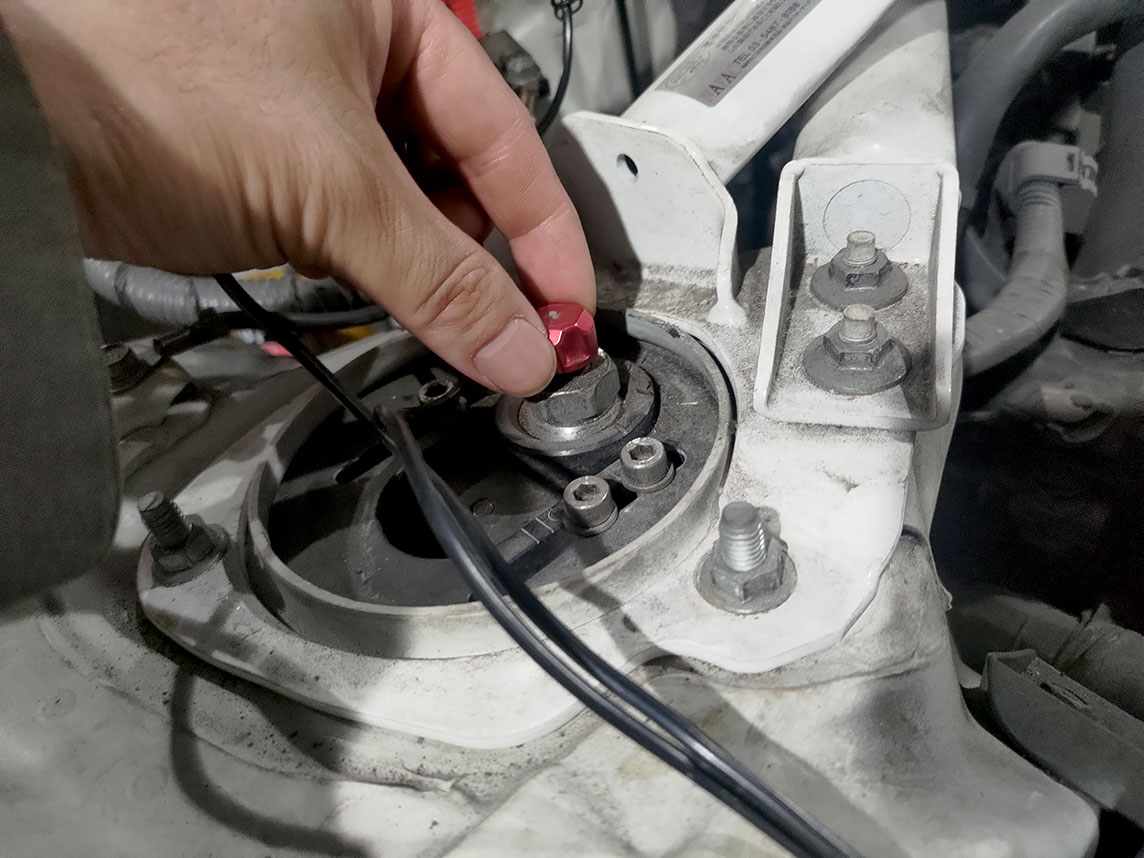
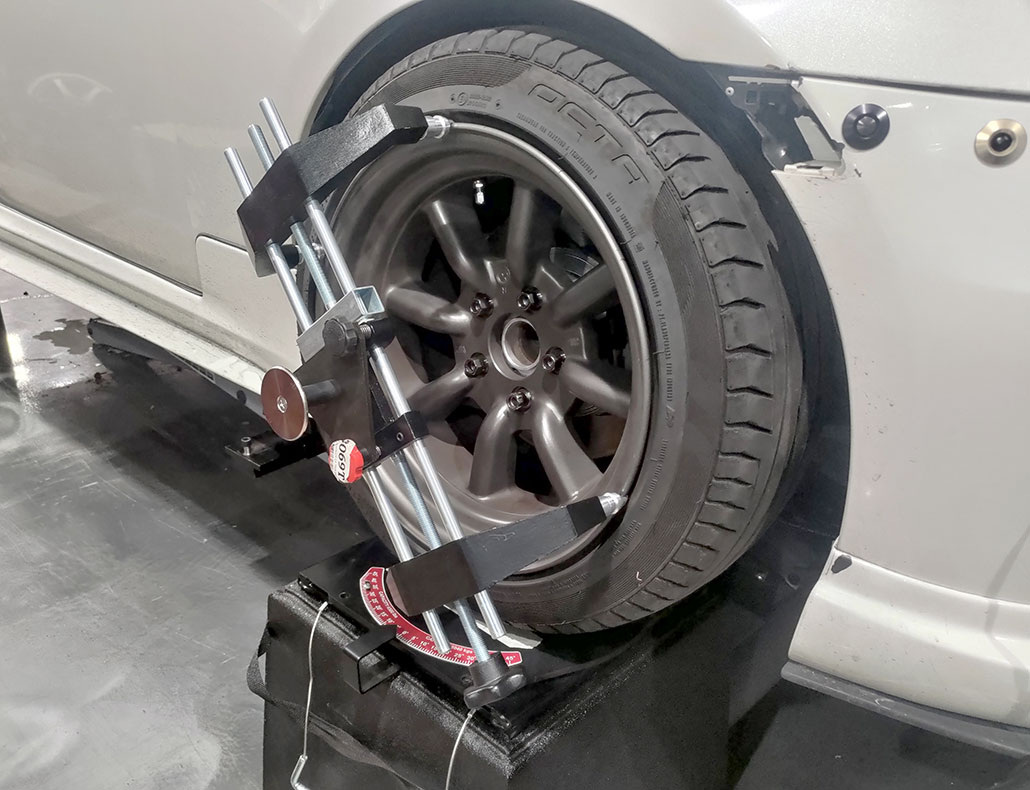
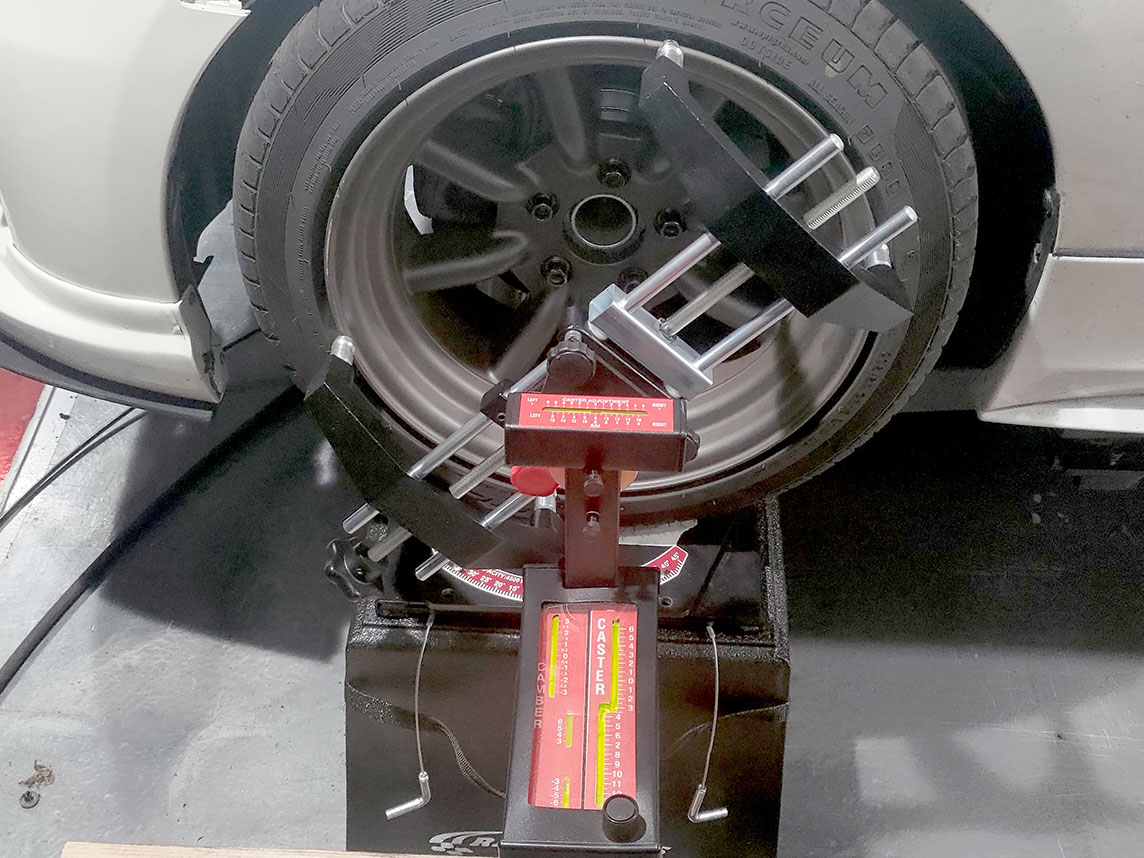
Here we can see the top hats of these Annex coilovers. The adjustment was set to full-hard by some madman no doubt. So, I moved it to 12 out of 24 clicks for testing purposes, and also so they wouldn’t blow up. Also, while in this area, I checked the tightness of the allen bolts (camber adjustment), and discovered that one coilover had them nice and snug while the other one had them quite loose; an easy fix.
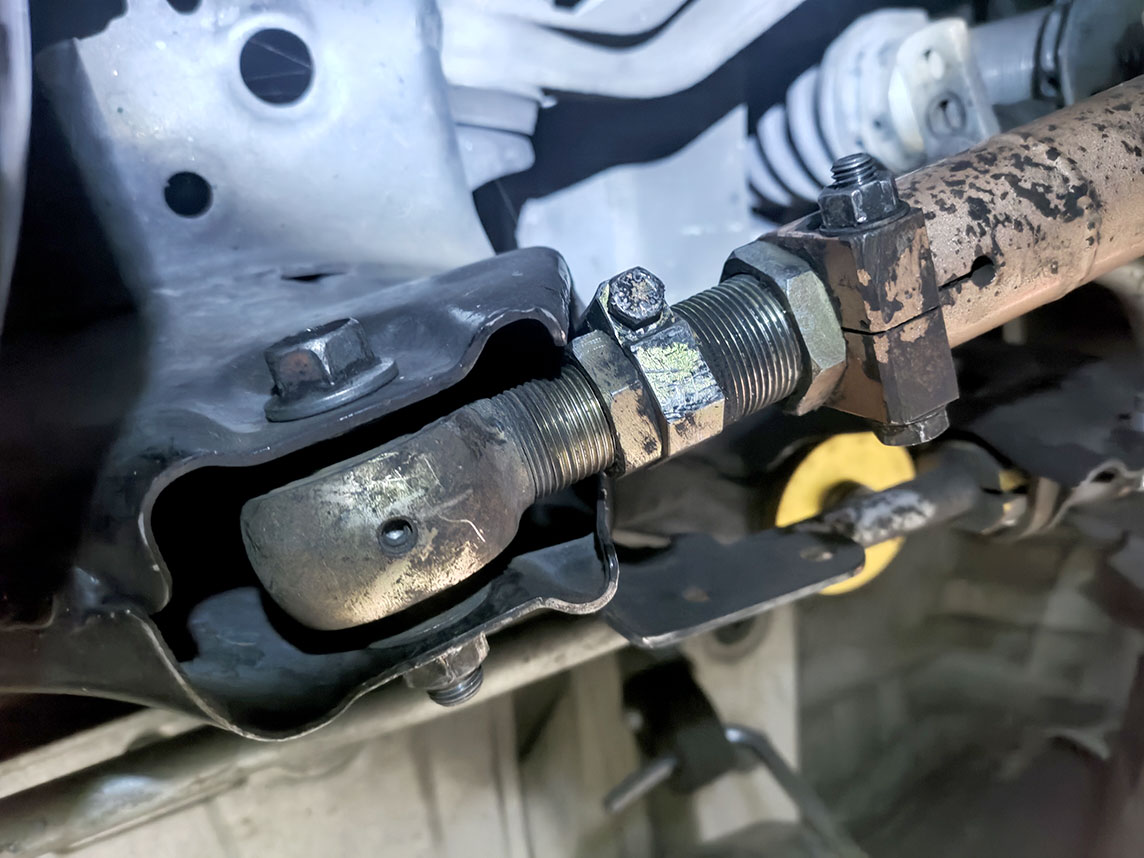
This PBM rear lower control arm was designed in a way where the adjustment bolt collides with the subframe of the car. The instructions oddly suggest trimming the subframe to make room for the arm. I personally suggest making a camber arm that doesn’t hit the chassis. But that’s just me. Benefit of the doubt, this arm looks quite old, and PBM probably corrected this by now.
In our case, I removed the arm and adjusted it to clear the subframe, although the camber adjustment range would be less than ideal for some people.

All-in-all, I’m happy with the way this turned out. And although this isn’t the first car I’ve aligned by now, there were still a lot of lessons learned. I’m feeling pretty confident with this chassis now; let’s try it again sometime!